


Collectie: Smelt & Giet Zeepbasissen
Gratis verzending binnen het Verenigd Koninkrijk
Verzending op dezelfde dag*
Gerelateerde collecties
-
3-in-1 basis douchegel
-
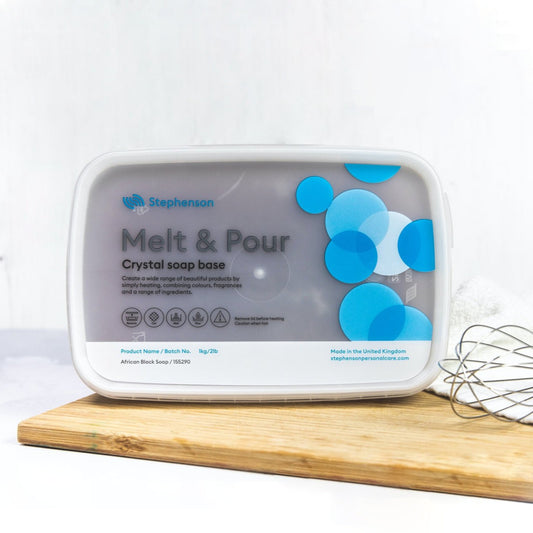
Afrikaanse Zwarte Gietzeepbasis - SLS SLES Vrij
Afrikaanse Zwarte Gietzeepbasis - SLS SLES Vrij
- Normale prijs
- Vanaf €13,95
- Aanbiedingsprijs
- Vanaf €13,95
- Normale prijs
-
-
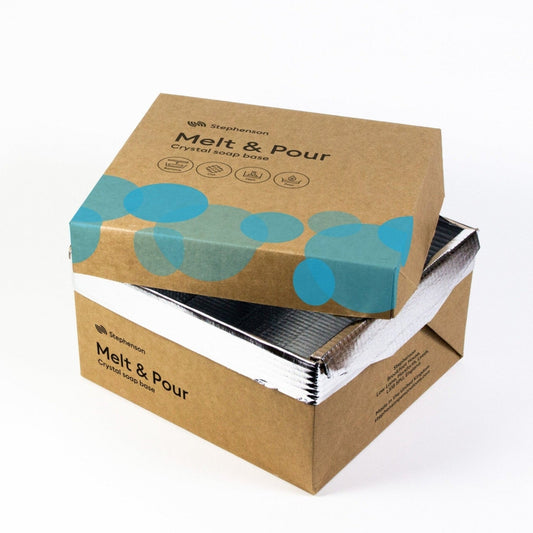
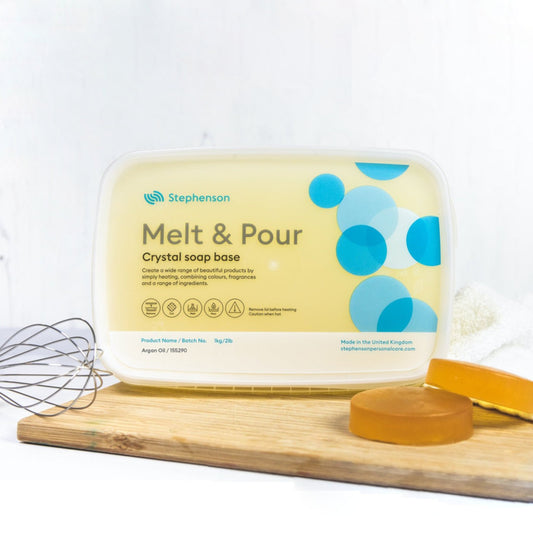
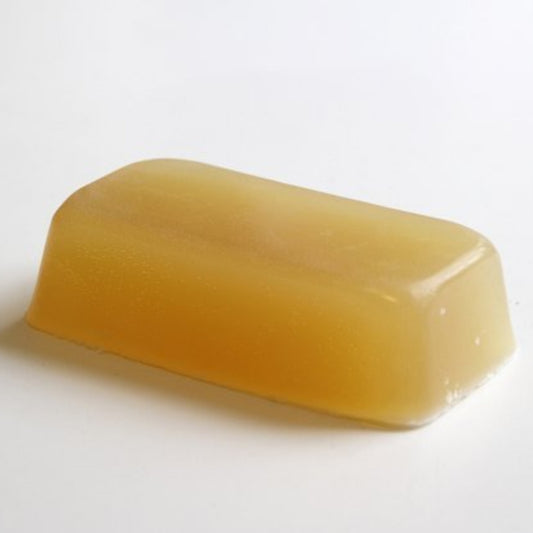
Arganolie Smelt- en Gietzeepbasis - SLS SLES Vrij
Arganolie Smelt- en Gietzeepbasis - SLS SLES Vrij
- Normale prijs
- Vanaf €11,95
- Aanbiedingsprijs
- Vanaf €11,95
- Normale prijs
-
-
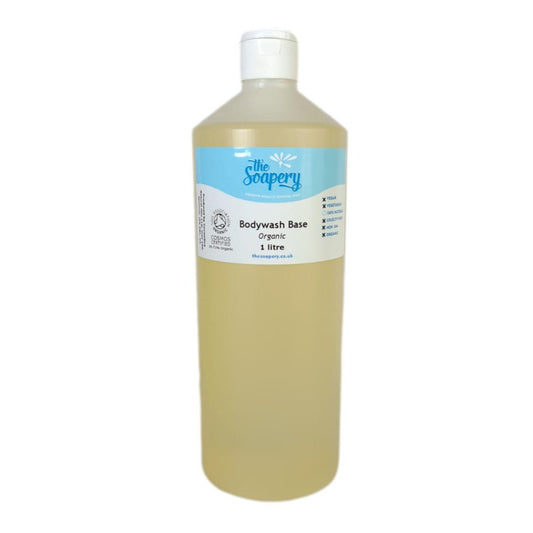
Douchegelbasis - Biologisch
-
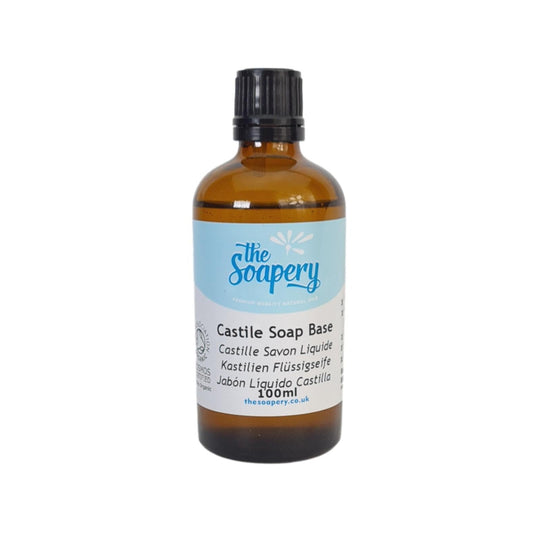
Vloeibare Castille Zeepbasis – Biologisch
Vloeibare Castille Zeepbasis – Biologisch
- Normale prijs
- Vanaf €8,95
- Aanbiedingsprijs
- Vanaf €8,95
- Normale prijs
-
-
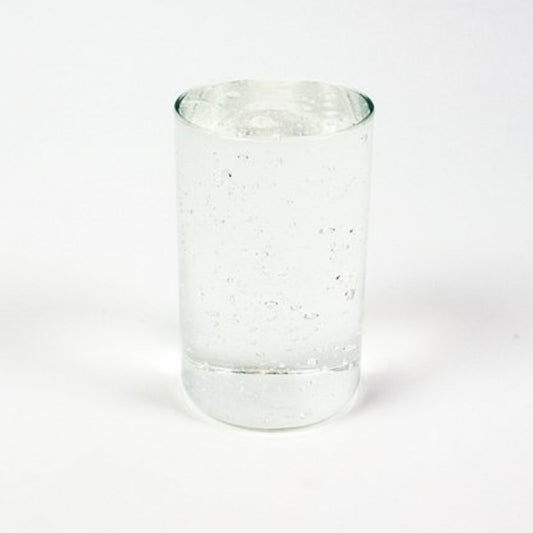
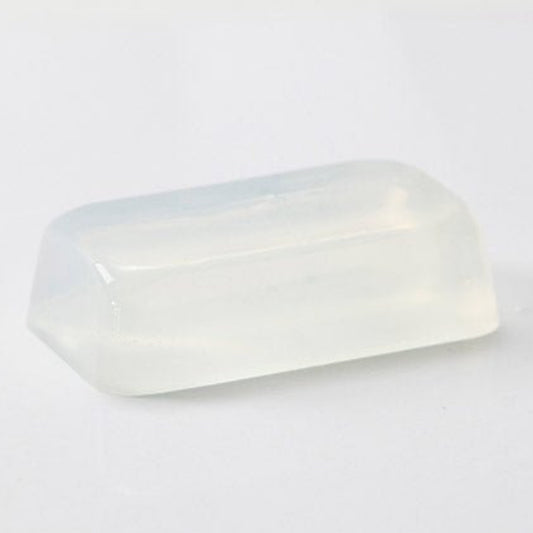
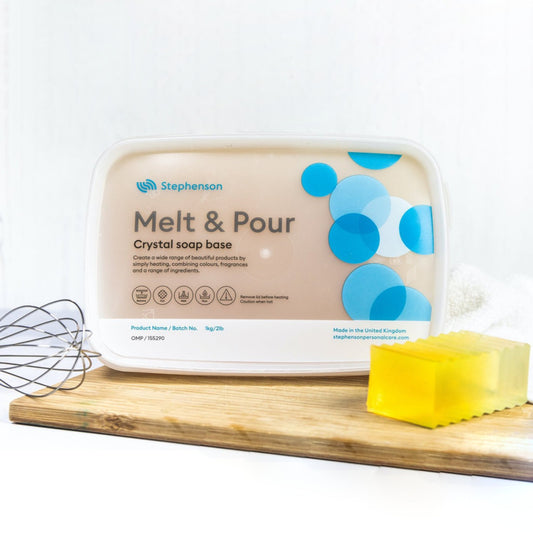
Heldere Transparante Gietzeepbasis - SLS Vrij
Heldere Transparante Gietzeepbasis - SLS Vrij
- Normale prijs
- Vanaf €13,95
- Aanbiedingsprijs
- Vanaf €13,95
- Normale prijs
-
-
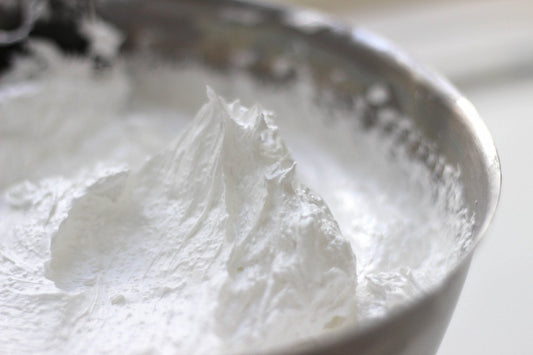
Opschuimende Badboter Smelt en Gietbasis
Opschuimende Badboter Smelt en Gietbasis
- Normale prijs
- Vanaf €129,95
- Aanbiedingsprijs
- Vanaf €129,95
- Normale prijs
-
-
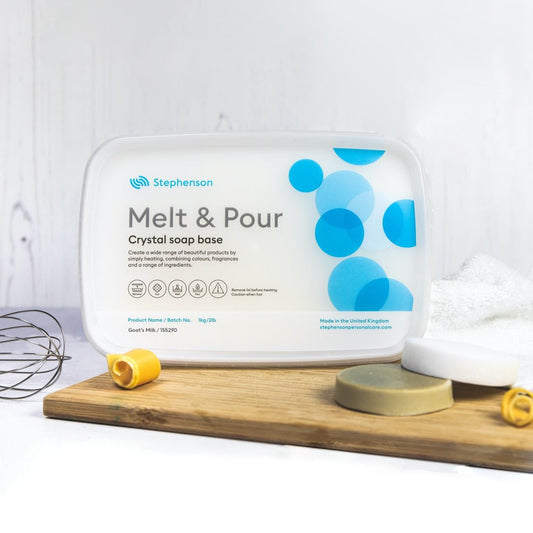
Smelt- en Gietzeepbasis van Geitenmelk
Smelt- en Gietzeepbasis van Geitenmelk
- Normale prijs
- Vanaf €13,95
- Aanbiedingsprijs
- Vanaf €13,95
- Normale prijs
-
-
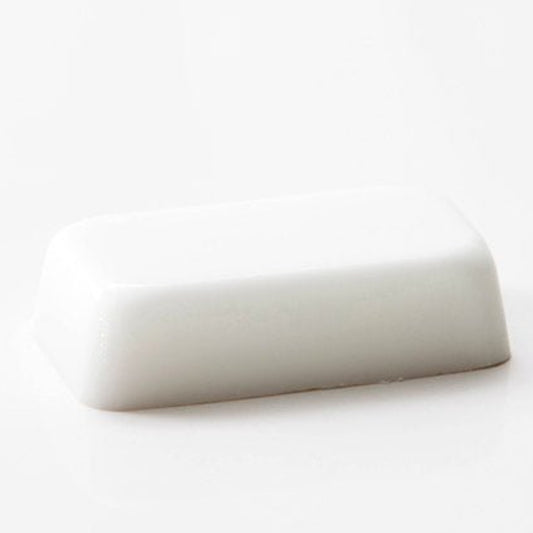
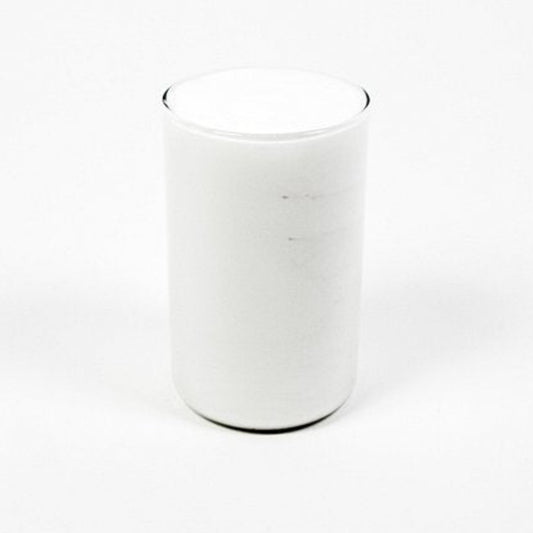
Opaak Witte Gietzeepbasis - SLS-vrij
Opaak Witte Gietzeepbasis - SLS-vrij
- Normale prijs
- Vanaf €13,95
- Aanbiedingsprijs
- Vanaf €13,95
- Normale prijs
-
-
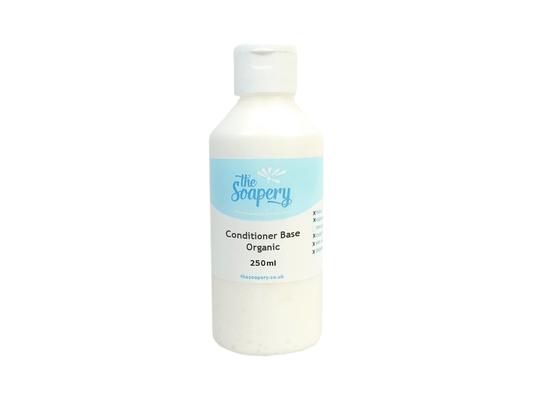
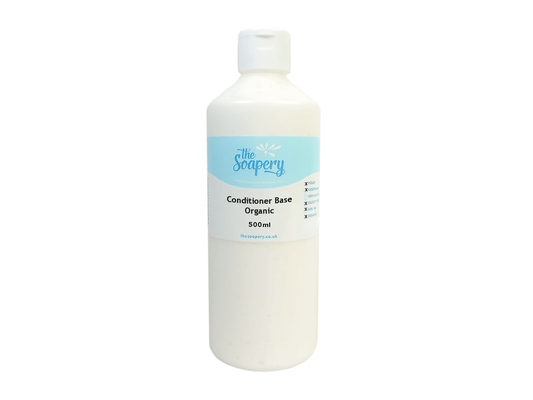
Biologische Vloeibare Conditioner Basis
Biologische Vloeibare Conditioner Basis
- Normale prijs
- Vanaf €9,95
- Aanbiedingsprijs
- Vanaf €9,95
- Normale prijs
-
-
Biologische Gietzeepbasis - SLS- en SLES-vrij
Biologische Gietzeepbasis - SLS- en SLES-vrij
- Normale prijs
- Vanaf €15,95
- Aanbiedingsprijs
- Vanaf €15,95
- Normale prijs
-
-
Shampoobasis - Biologisch
-
Sheabutter en Havermout Smelt- en Gietzeepbasis 11,5 kg
Sheabutter en Havermout Smelt- en Gietzeepbasis 11,5 kg
- Normale prijs
- Vanaf €82,95
- Aanbiedingsprijs
- Vanaf €82,95
- Normale prijs
-
Gerelateerde collecties
Waarom kiezen voor The Soapery?
-

Gratis verzending binnen het Verenigd Koninkrijk
Haal je ingrediënten snel in huis zonder extra kosten.
-

Verzending op dezelfde dag*
Bestel vóór 15.00 uur om uw pakket direct te laten verzenden.
-

Lage prijzen
Geen glanzende marketing of valse beloftes betekent grote besparingen.
-

Ethische leveranciers
Geen bedenkingen hier. Onze ingrediënten zijn ethisch en duurzaam verkregen.
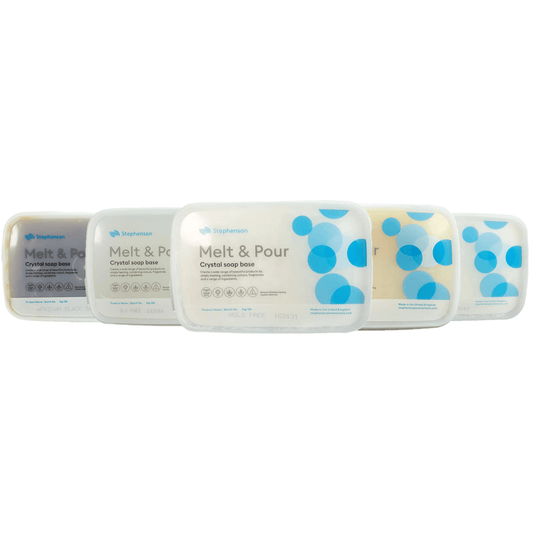
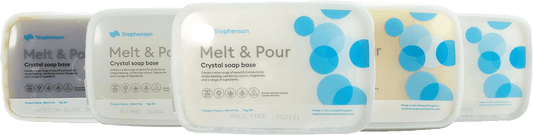
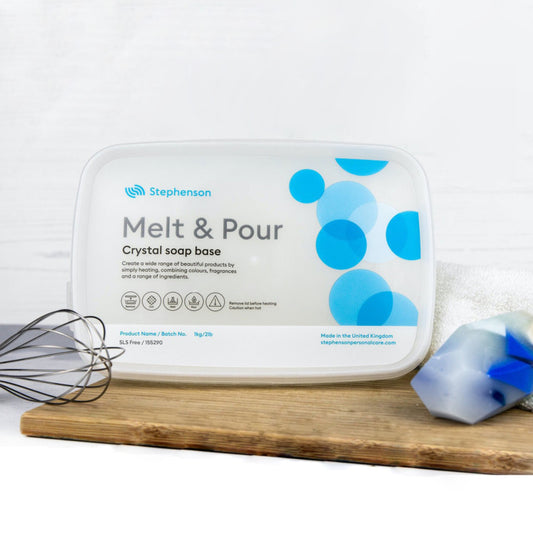
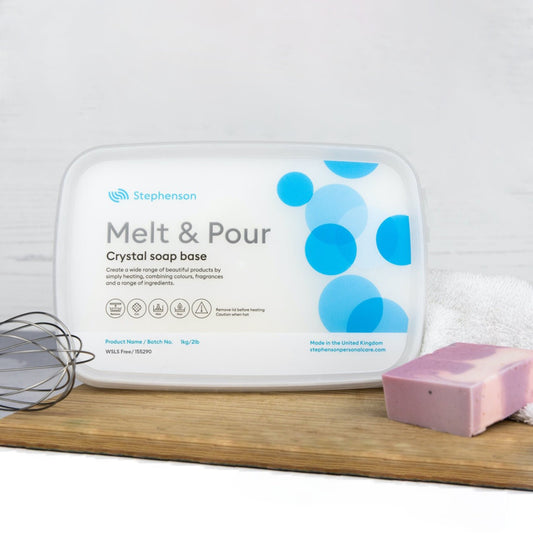
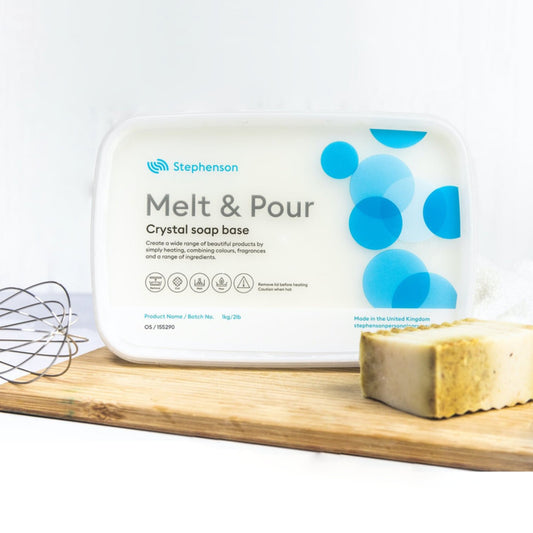
Over Smelt & Giet Zeepbasissen
Melt-and-pour-zeepbasissen maken inzepen zo eenvoudig als één, twee, drie. Kies eenvoudigweg uw basis, geur en kleuren om te beginnen! Onze kant-en-klare blokken vakkundig geformuleerde zeep zijn er om het zeep maken gemakkelijk te maken – van sheaboter en havermout tot SLS-vrij. Perfect voor eenmalige knutselprojecten, hobbyisten en kleine bedrijven!
Meer informatie over smelt-en-gietbasissen
Eenvoudig, snel en leuk!
Smelt-en-gietzeepbasissen zijn onze kernproducten. Of u nu voor het eerst de wereld van het zeep maken betreedt, of de perfecte schuim wilt zonder complexe chemicaliën of berekeningen, wij hebben wat u nodig hebt.
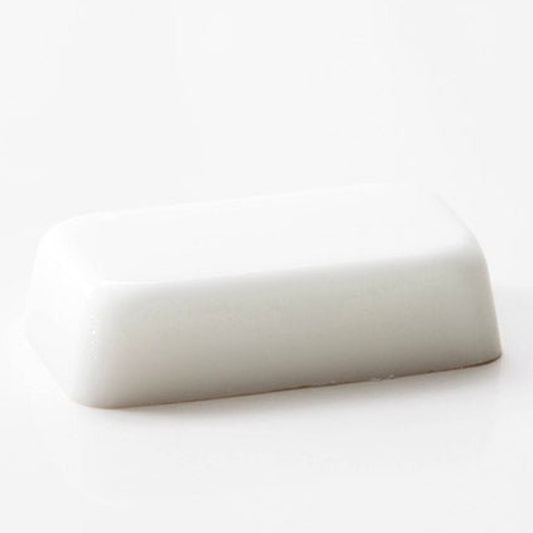
Perfect geportioneerd en verpakt, onze smelt-en-gietzeepbasissen zijn er in elke denkbare variëteit. Van perfect witte lege canvasblokken die klaar zijn voor een vleugje kleur en geur tot prachtig gladde boters en zachte geitenmelk, er is genoeg te ontdekken.
Klaar om te beginnen? Bekijk onze smelt-en-gietbasiscollectie hierboven. We kunnen niet wachten om uw creaties te zien!
Wat is smelt-en-gietzeep?
Smelt-en-gietzeepbasissen doen precies wat de naam zegt! Een voorgeportioneerde pot kant-en-klare basisingrediënten, waaronder vetzuren, glycerine en andere natuurlijke additieven van havermout tot arganolie, ze zijn verzeept en klaar voor gebruik – waardoor u niet hoeft te meten, mengen en uitharden.
In vergelijking met complexere koud- en warmproceszepen kunnen onze smelt-en-gietblokken worden gebruikt zodra ze bij u aankomen. Het enige wat u hoeft te doen, is de basis smelten, uw gekozen geur en kleurstof toevoegen en deze in een vorm gieten!
Voor enkele top beoordeelde, handmatig ontwikkelde smelt-en-gietzeeprecepten, waarom bezoekt u niet de blog van The Soapery?
Hoe gebruikt u smelt-en-gietzeepbasissen?
Geïntimideerd door het traditionele zeepmaakproces? Of u nu geen tijd hebt, extra oefening nodig hebt, of gewoon dingen snel, gemakkelijk en effectief wilt houden, onze smelt-en-gietzeep is de weg voorwaarts.
Bestel eenvoudigweg de zeepbasis die het beste bij uw behoeften past en geniet van onze snelle, gratis levering. Met uw zeepmaakhandschoen, een mes, een kom en een vorm klaar, opent u uw pot en begint u met snijden.
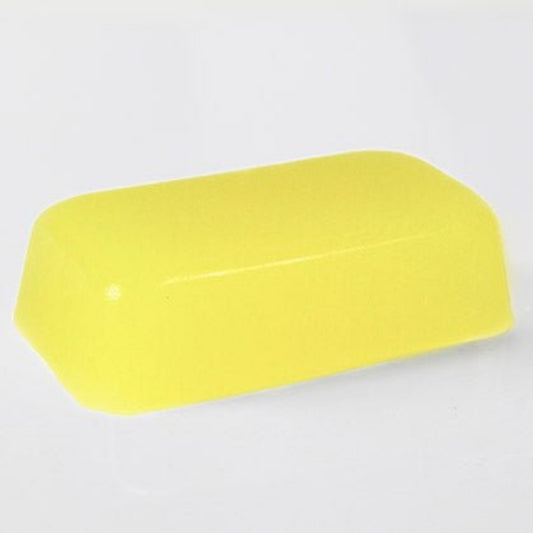
Zodra uw zeepbasis in kleine blokjes is verdeeld, smelt u deze met een methode naar keuze, of het nu een magnetron of een dubbele boiler is. Zorg ervoor dat u niet kookt – doe dingen zo langzaam mogelijk met korte stoten van lage hitte.
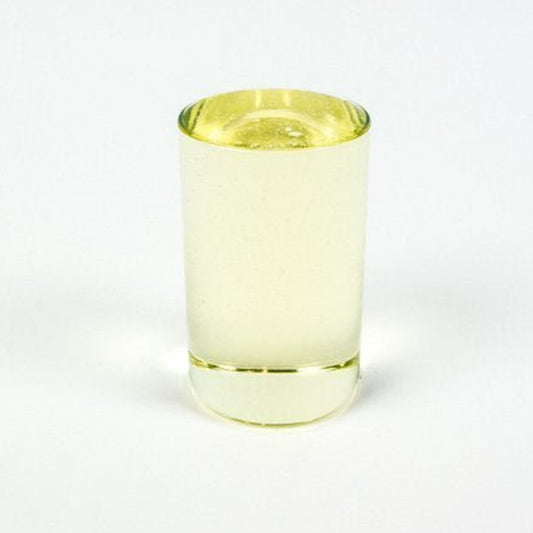
Eenmaal volledig gesmolten, mengt u voorzichtig uw gekozen pigmenten en geuren erdoor voordat u de vloeistof in een vorm giet en laat uitharden. Vergeet niet dat smelt-en-gietzeepbasissen ongeveer 6 uur nodig hebben om volledig uit te harden.
Zodra uw zeep is uitgehard, wikkelt u deze in huishoudfolie om zweten en waterverlies te voorkomen.
De voordelen van smelt-en-gietzeepbasissen
Het echte voordeel van smelt-en-gietzeepbasissen ligt in hun complete eenvoud. Ze maken het maken van uw eigen zeep echt zo gemakkelijk als maar kan – zelfs als u geen expertkennis hebt. Zonder natriumhydroxide (loog) en uw verhoudingen al geregeld voordat u begint, hoeft u zich geen zorgen te maken over het hanteren of mengen van vluchtige stoffen.
Bovendien kunt u dankzij hun kneedbaarheid zeep in elke gewenste vorm maken met een smelt-en-gietbasis bij de hand, wat betekent dat u vrij bent om te experimenteren met unieke patronen en ontwerpen. Bovendien, zonder uithardingsperiode, kunt u uw creaties direct na het uitharden snijden en gebruiken.
De Zeepmakerij Blog
Onze favoriete huidverzorgingsrecepten


WAT KLANTEN ZEGGEN
We Waarderen Elk van Onze Klanten
Accreditaties/Prijzen
We zetten ons in om een uitgebreid assortiment van volledig natuurlijke, biologische producten aan te bieden die gecertificeerd zijn door The Soil Association, en we zijn er trots op dat we ons steentje bijdragen aan de wereld om ons heen.
Net als de meeste ingrediënten worden de oliën, boters, poeders en decoraties in uw handgemaakte producten geteeld of gewonnen uit de natuurlijke wereld. De producten die door de Soil Association als biologisch zijn gecertificeerd, zijn geteeld, geproduceerd en geoogst in overeenstemming met strenge voorschriften die zijn opgesteld om het milieu, inclusief bodems, ecosystemen, dieren en mensen, te beschermen en in stand te houden.

Smelt & Giet Zeepbasissen Kopen: Veelgestelde vragen
Kunt u de antwoorden die u zoekt niet vinden? Neem dan contact op met ons vriendelijke team via ons contactformulier of via sociale media. We helpen u graag verder.
Is melt and pour soap easy to use?
Can you mix different melt and pour soap bases?
How to use a melt and pour soap base?
How to make soap?
How to colour melt and pour soap?
What is the best melt and pour soap base?
How to increase lather in melt and pour soap?
Does melt and pour soap expire?
What can I add to melt and pour soap?
Why is my soap bar sweating?
Word lid van onze maker community

Meld u aan voor onze nieuwsbrief
